Effective immediately, patients who normally receive Joey pump sets (food bags) will be receiving E pump sets as a substitute. This is due to an ongoing...
Read Full Post
22
May
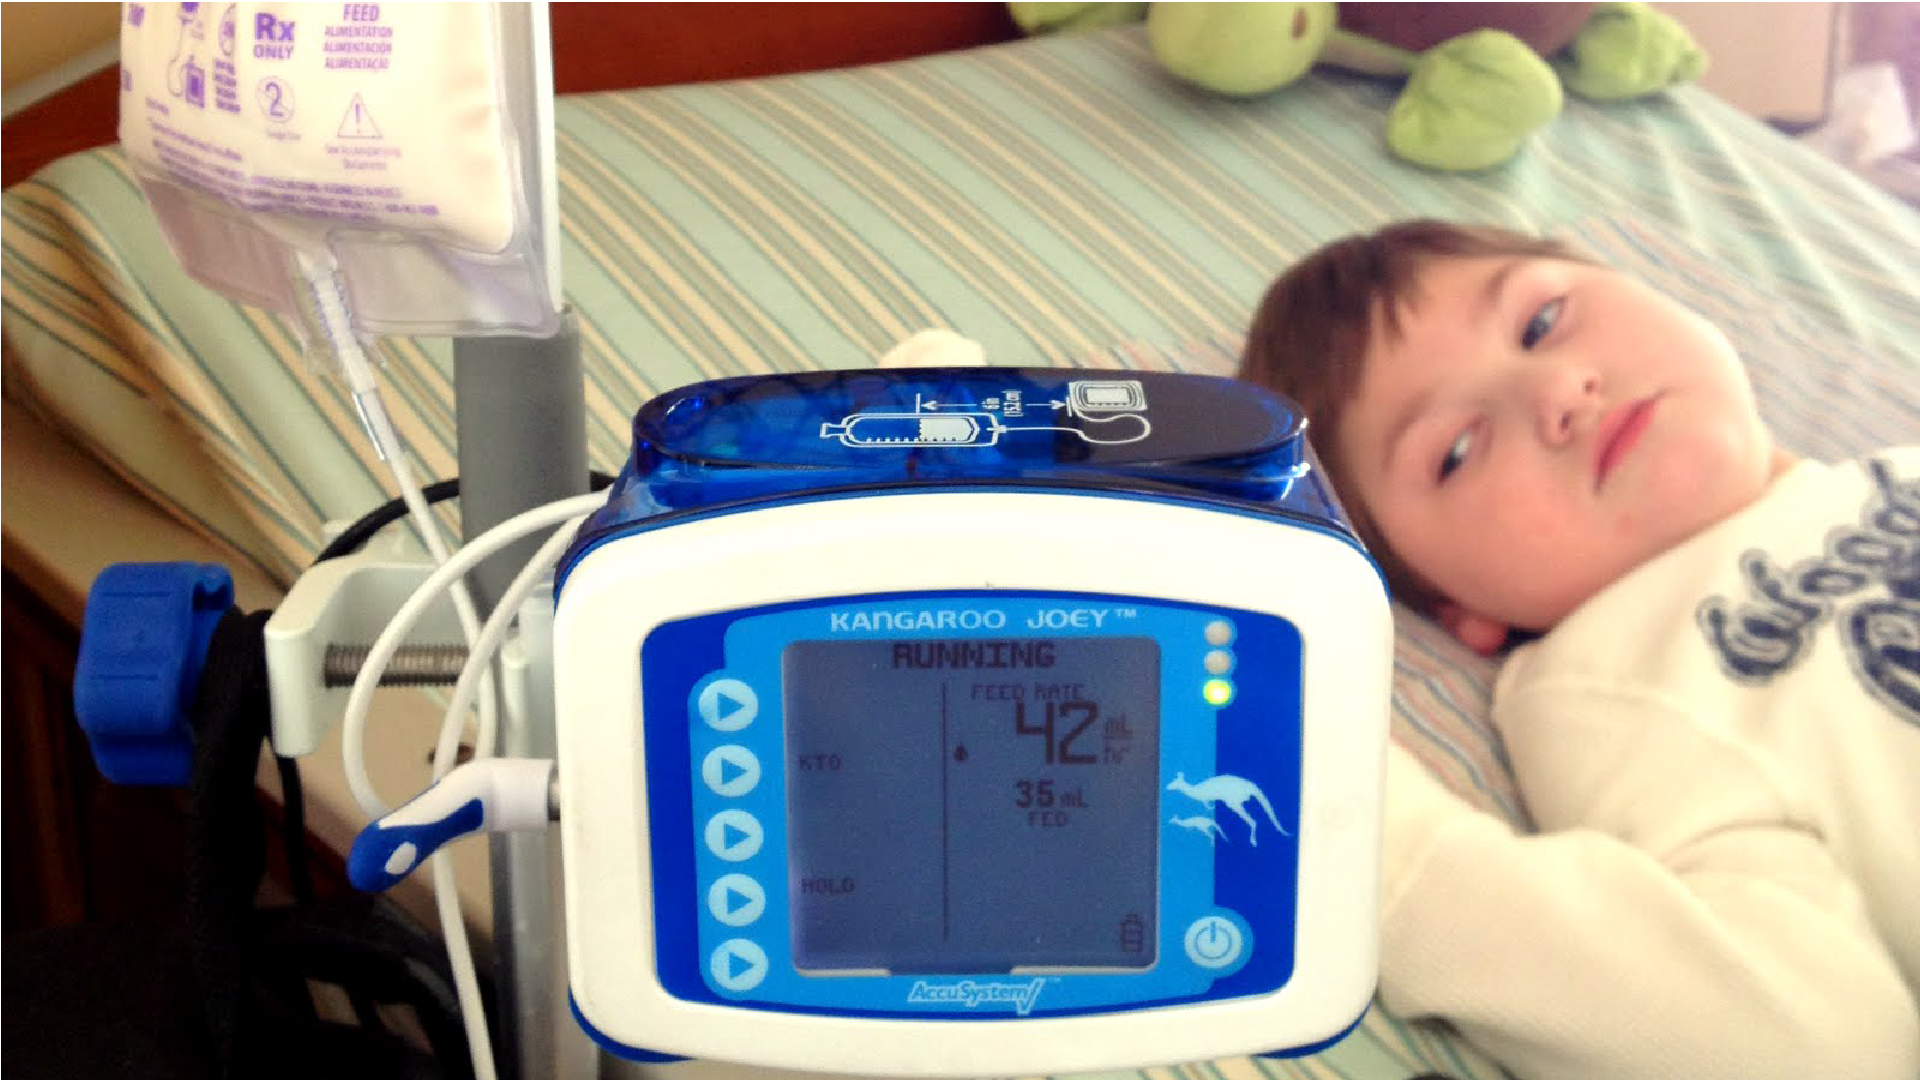
Effective immediately, patients who normally receive Joey pump sets (food bags) will be receiving E pump sets as a substitute. This is due to an ongoing...
Read Full Post
May 22, 2024
Effective immediately, patients who normally receive Joey pump sets (food bags) will be receiving E pump sets as a substitute. This is due to an ongoing backorder on the Joey sets, expected to last at least 6 more weeks. They will be automatically substituted...
Read Full Post
February 19, 2024
Old age can bring about many different transitions when it comes to a person’s living situation. As changes to the body occur, mobility can become quite a challenge and extra assistance may be needed. While many people choose to move to an assisted...
Read Full Post
January 19, 2023
For those individuals who must monitor blood sugar levels, you may have researched what other options you have for different ways to monitor glucose levels. Continuous glucose monitoring (CGM) is an essential piece of the puzzle for getting sugars under...
Read Full Post